Building a wood and pipe bookcase

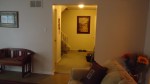
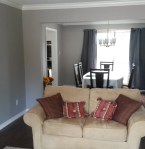
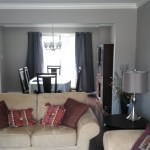
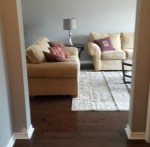
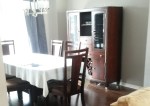
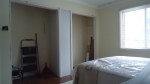
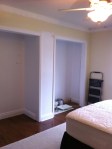
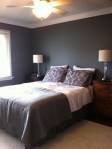
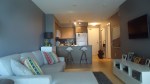
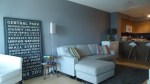
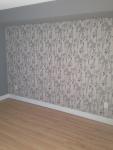
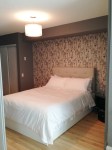
This is the first of a few posts you’ll be seeing about an amazing loft I’ve been working on in Toronto’s Liberty Village.

As in most lofts and condos, storage is always a challenge and trying to find places for all your things is often a huge struggle.

Shelving units and bookcases tend to take up a lot of valuable floor space and don’t take advantage of the single biggest storage ally – height.

The best way to get maximum use out of every inch is to have things custom designed and made to fit the space and made to fit your needs. Storage needs to be customized, tailored to fit your things, not someone else’s.

One issue with custom often times, is cost. In most cases, custom made pieces cost significantly more than off the shelf items and aren’t always affordable.

Well, here’s an easy, relatively inexpensive way to custom make storage suited to your space. It involves wood and gas or plumbing pipes.

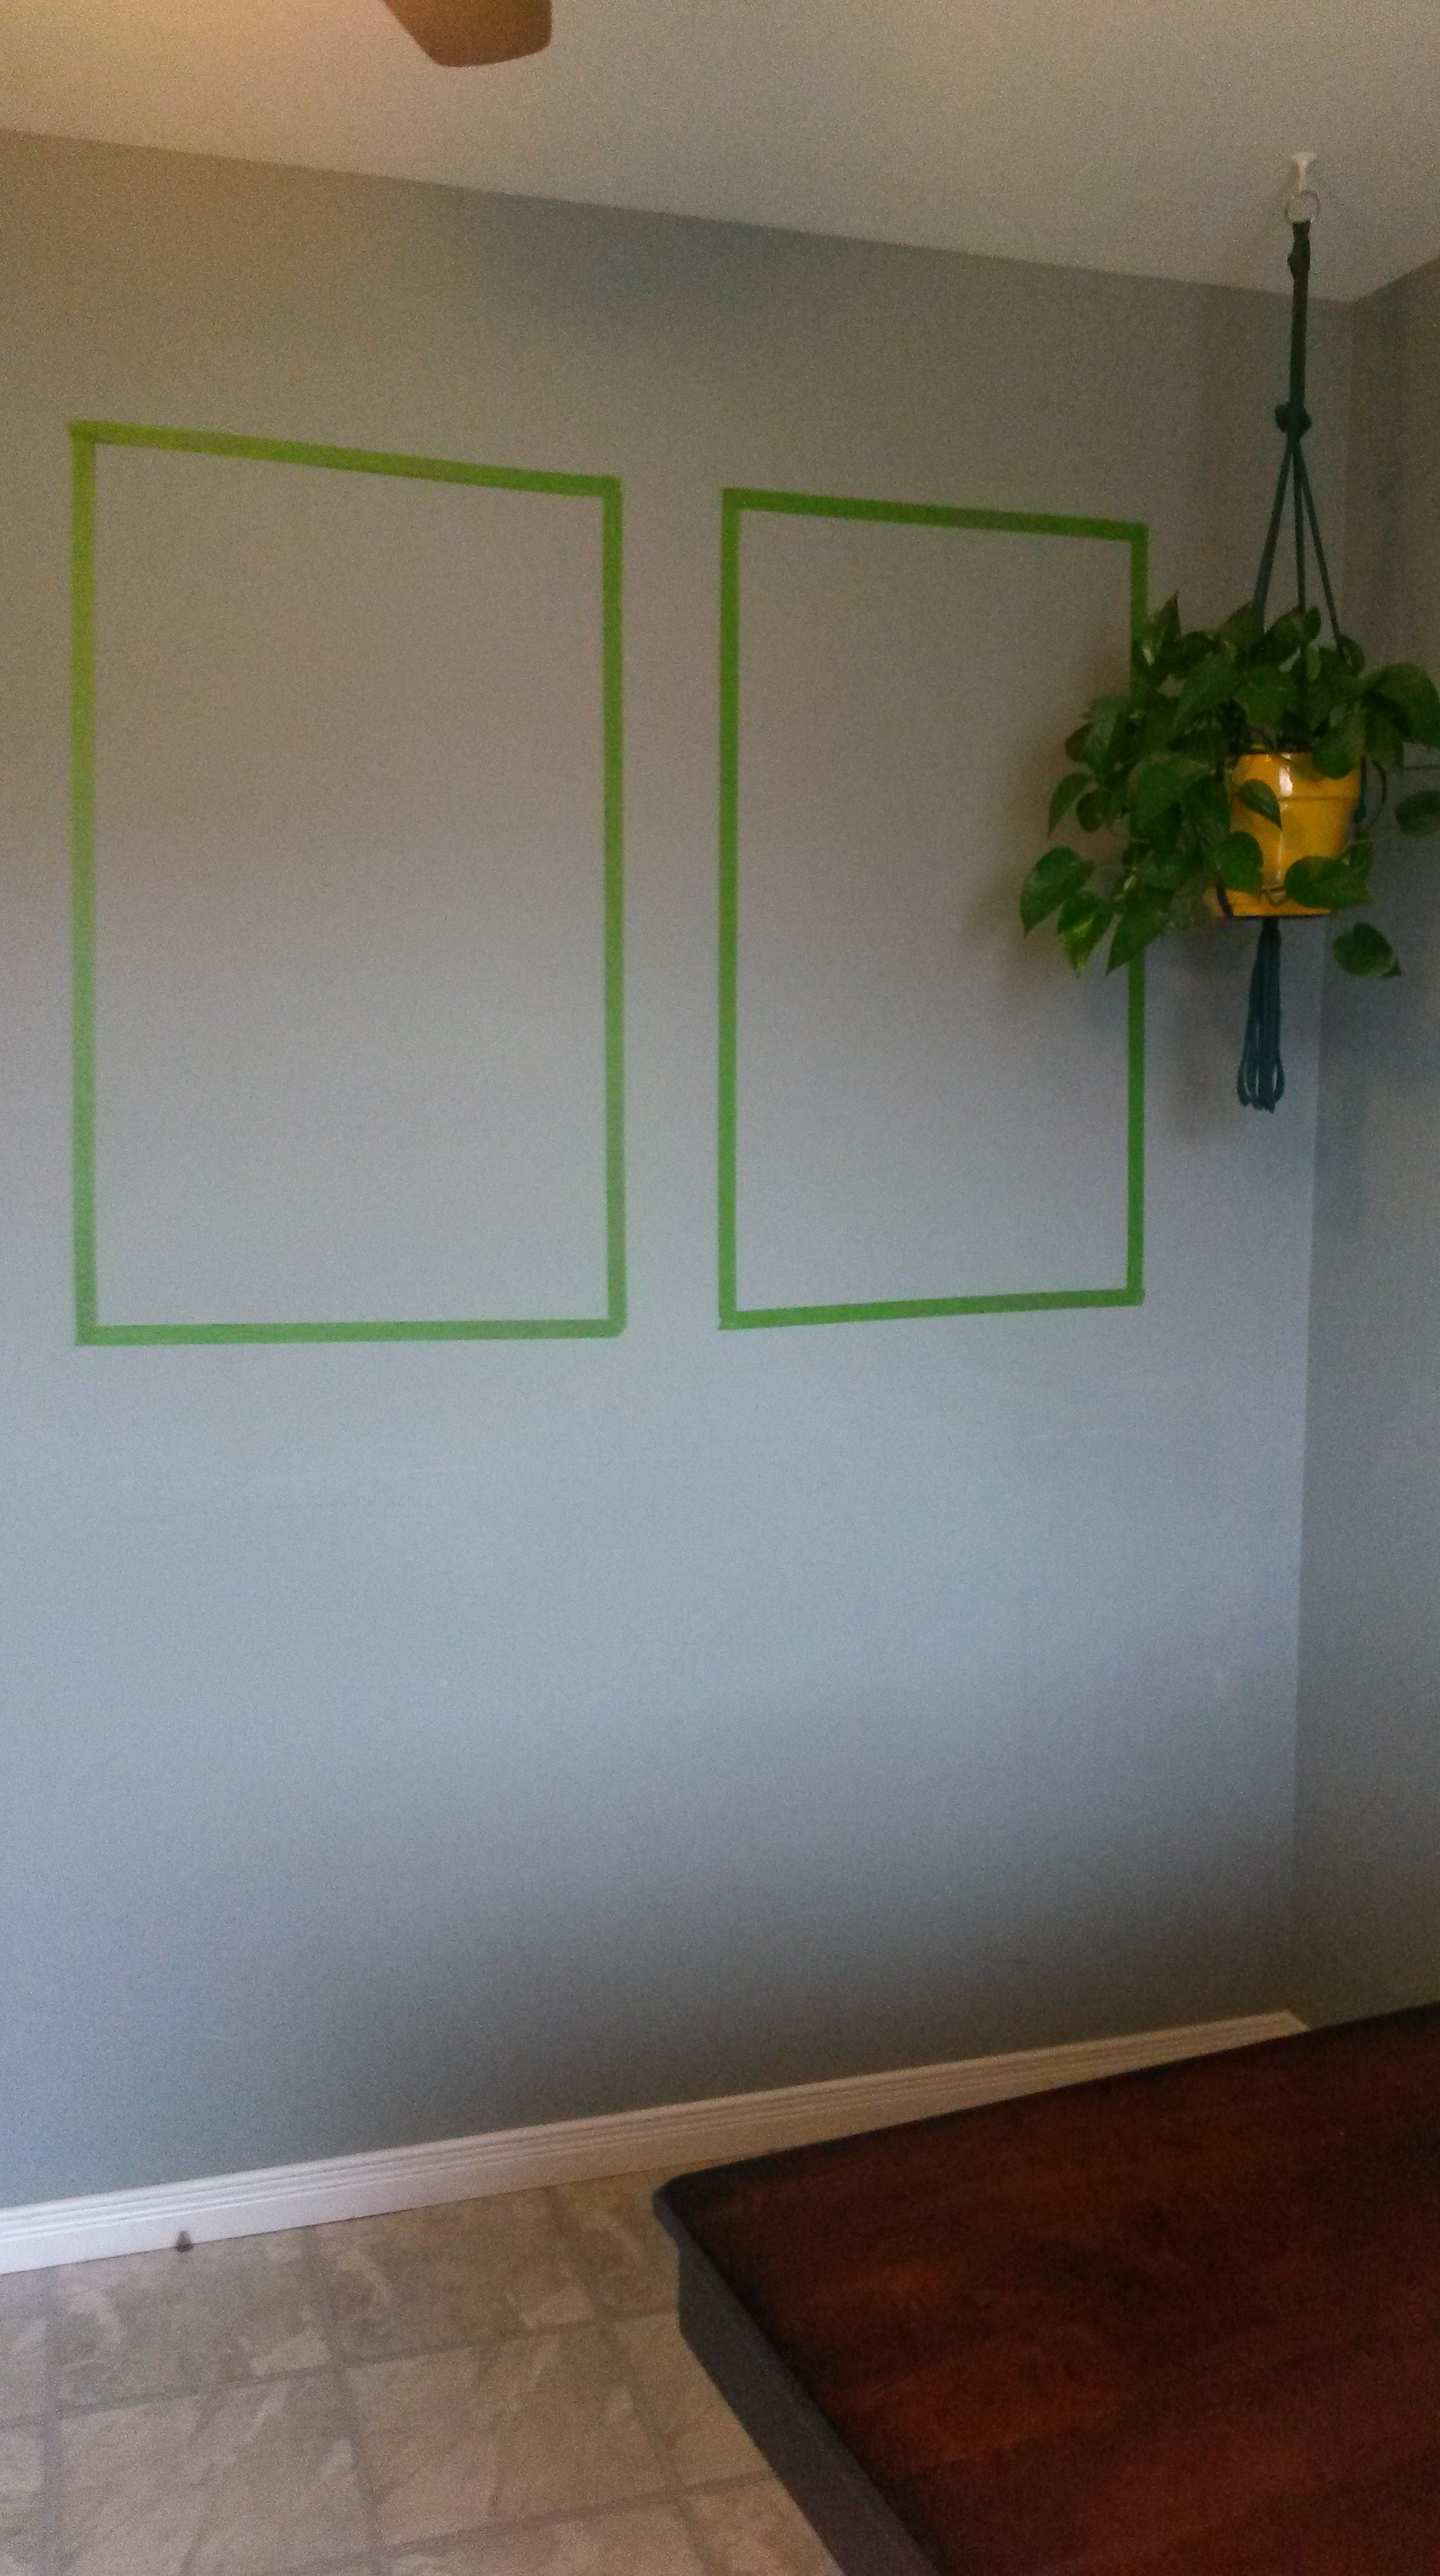
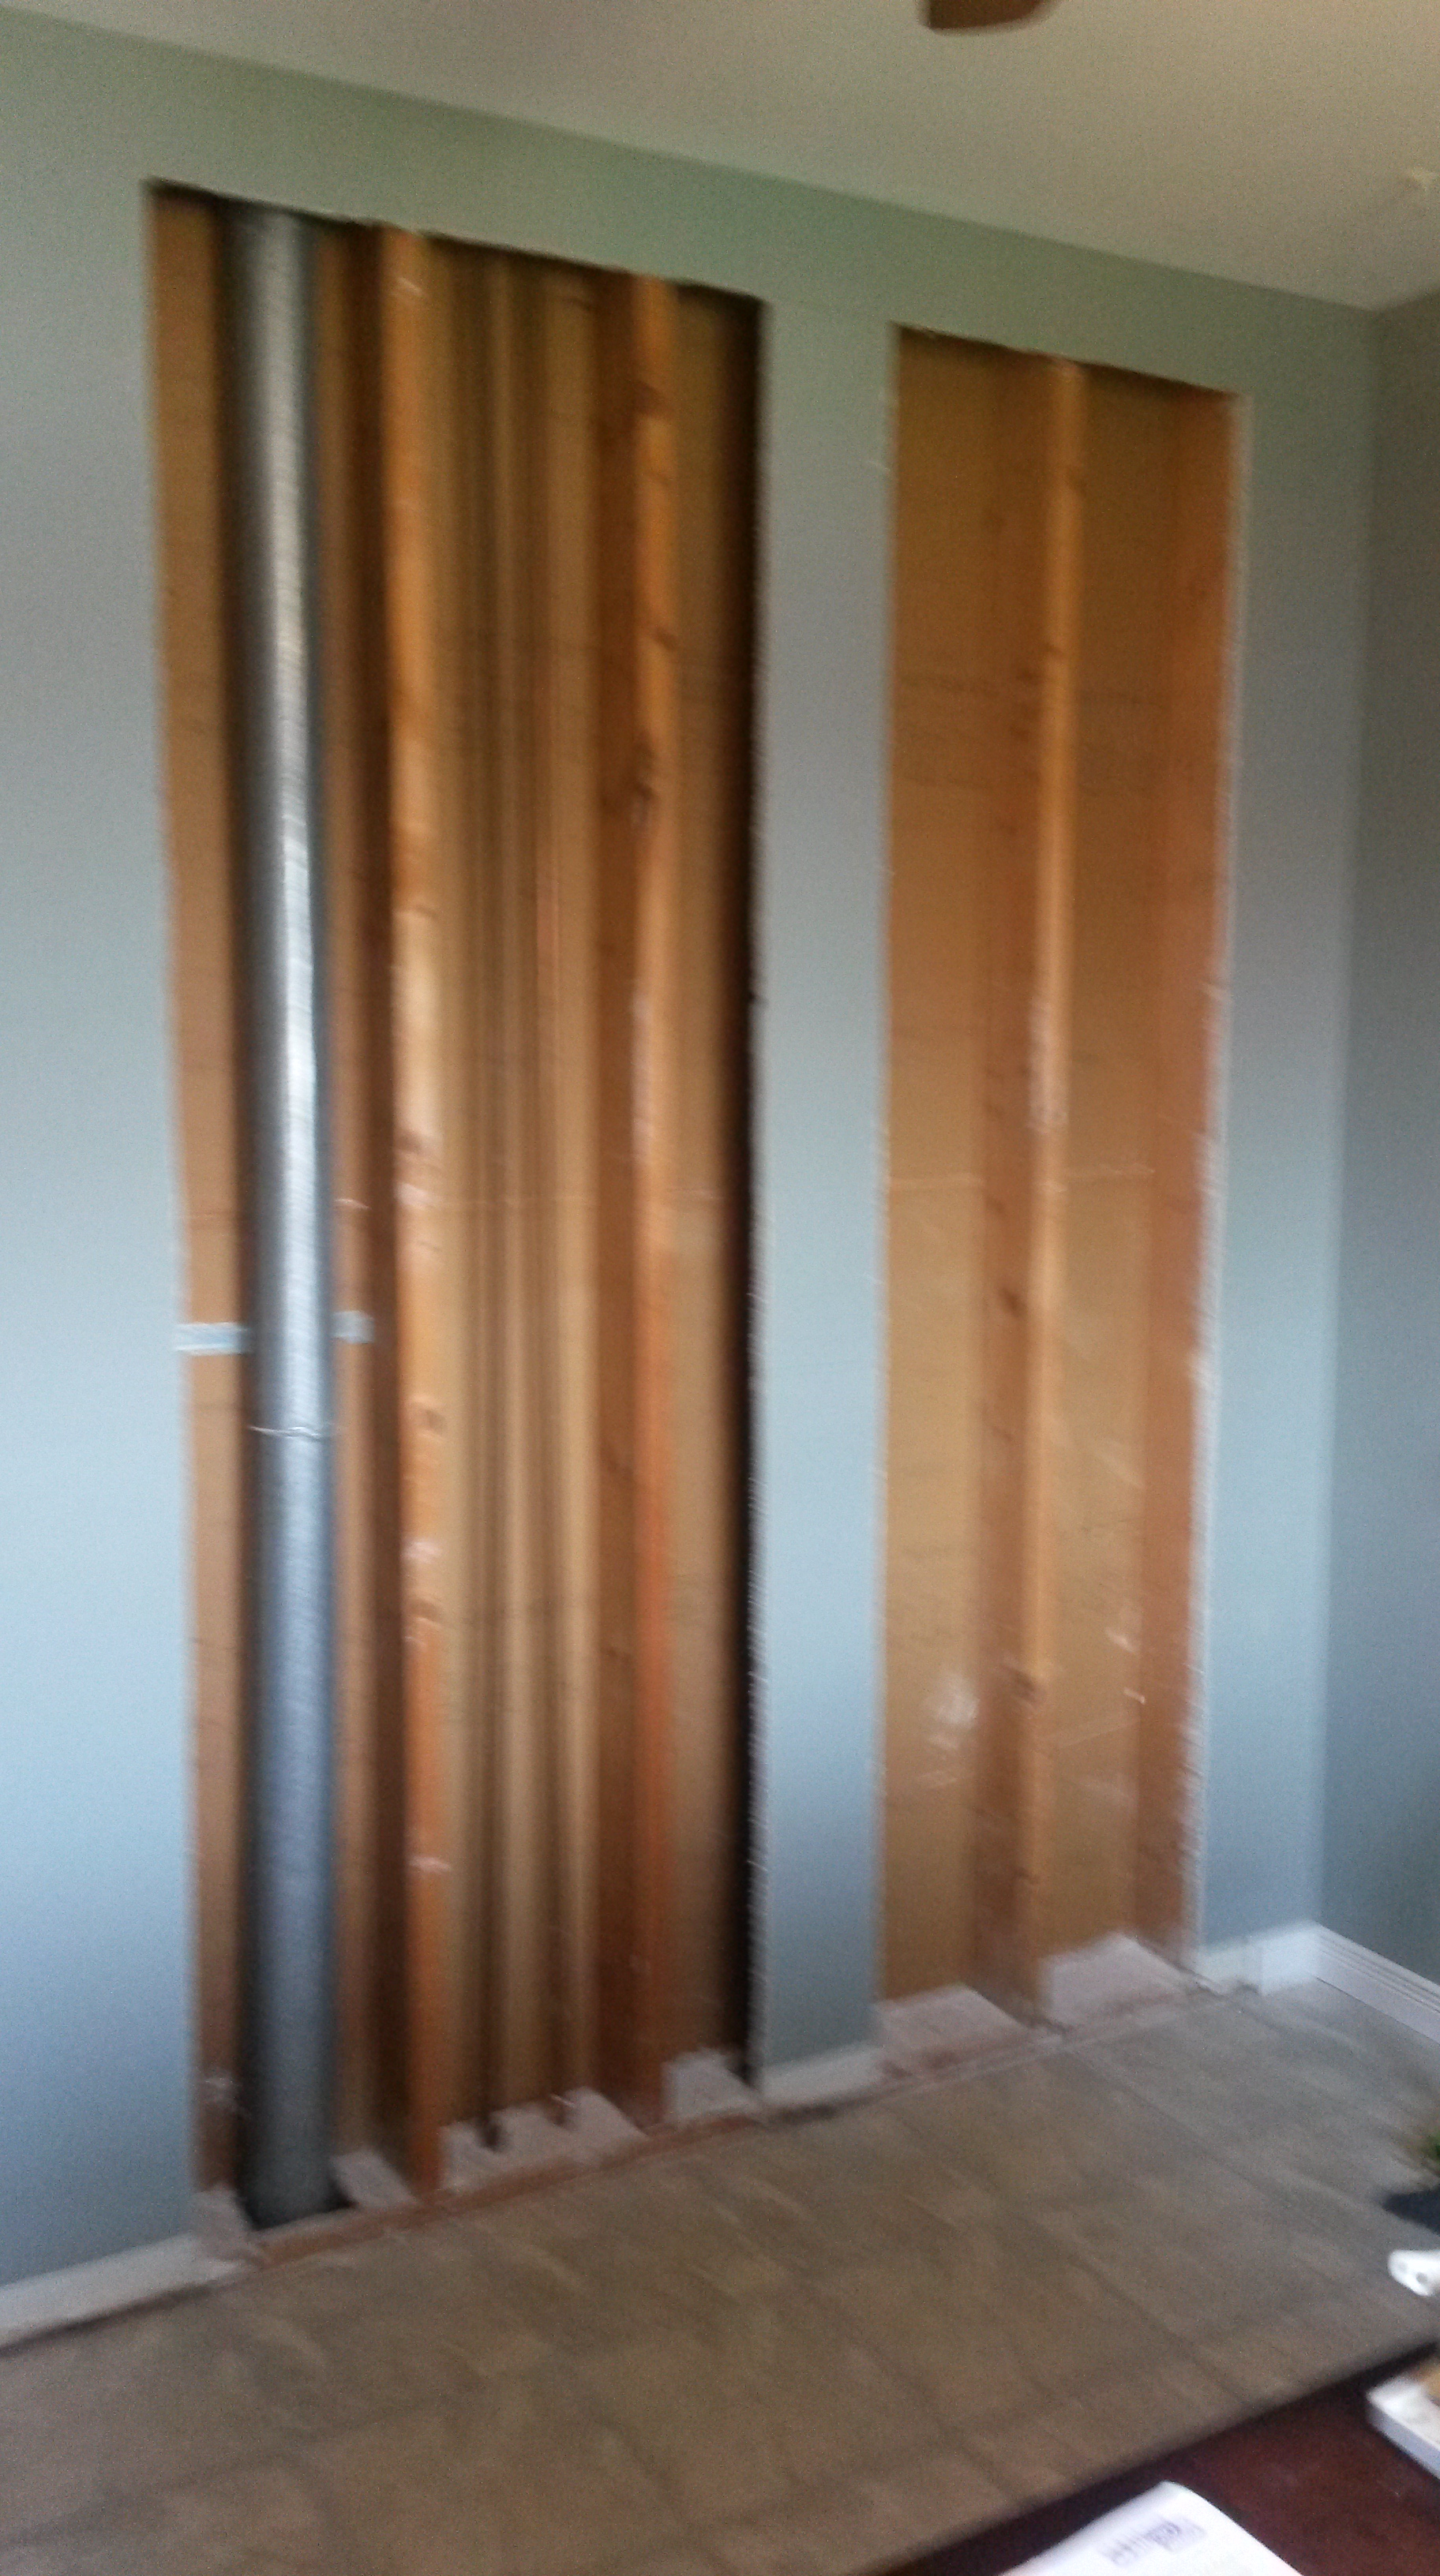
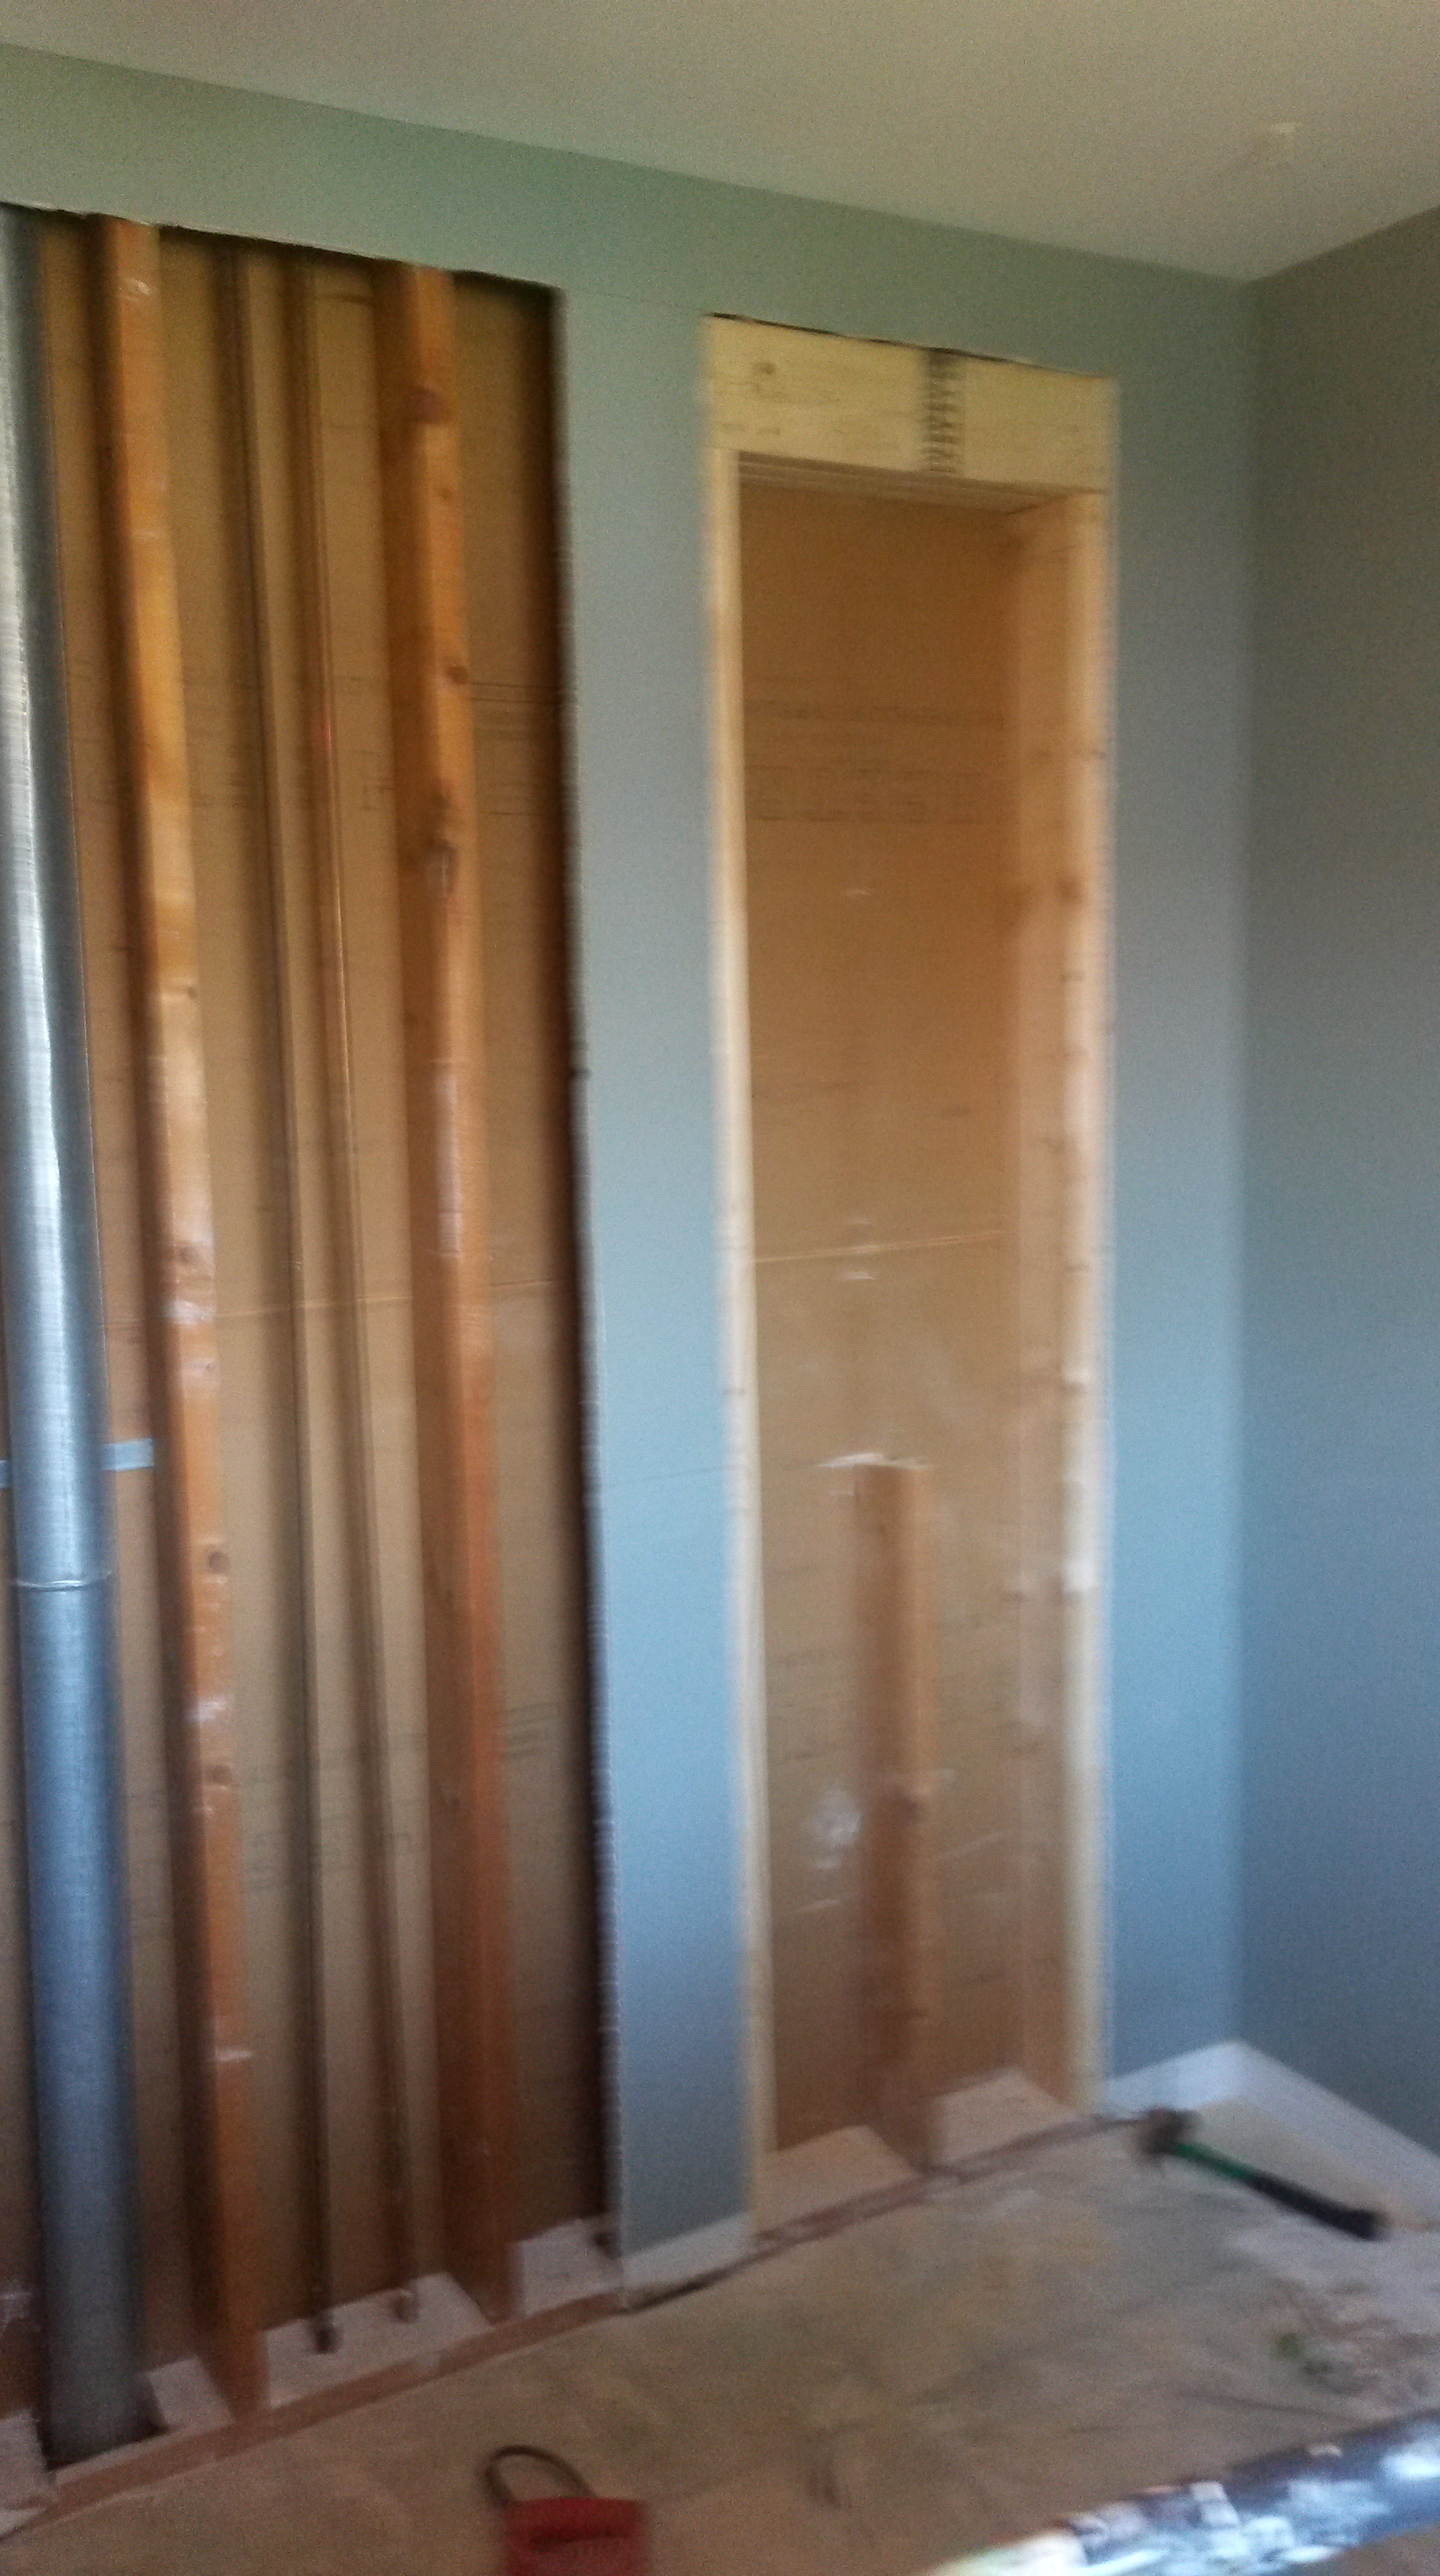
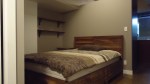
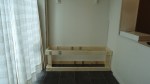
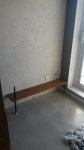
It this particular loft, we had the perfect place for a bookcase but needed something that would be about 4′ wide, 9″ deep and would go all the way to the ceiling in order to provide enough shelving for all of their books, magazines and movies.

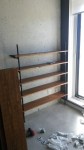
The hardest part of building with pipes is, for me, the math. There’s a fair amount of calculating involved as the pipes come in many lengths and thicknesses.

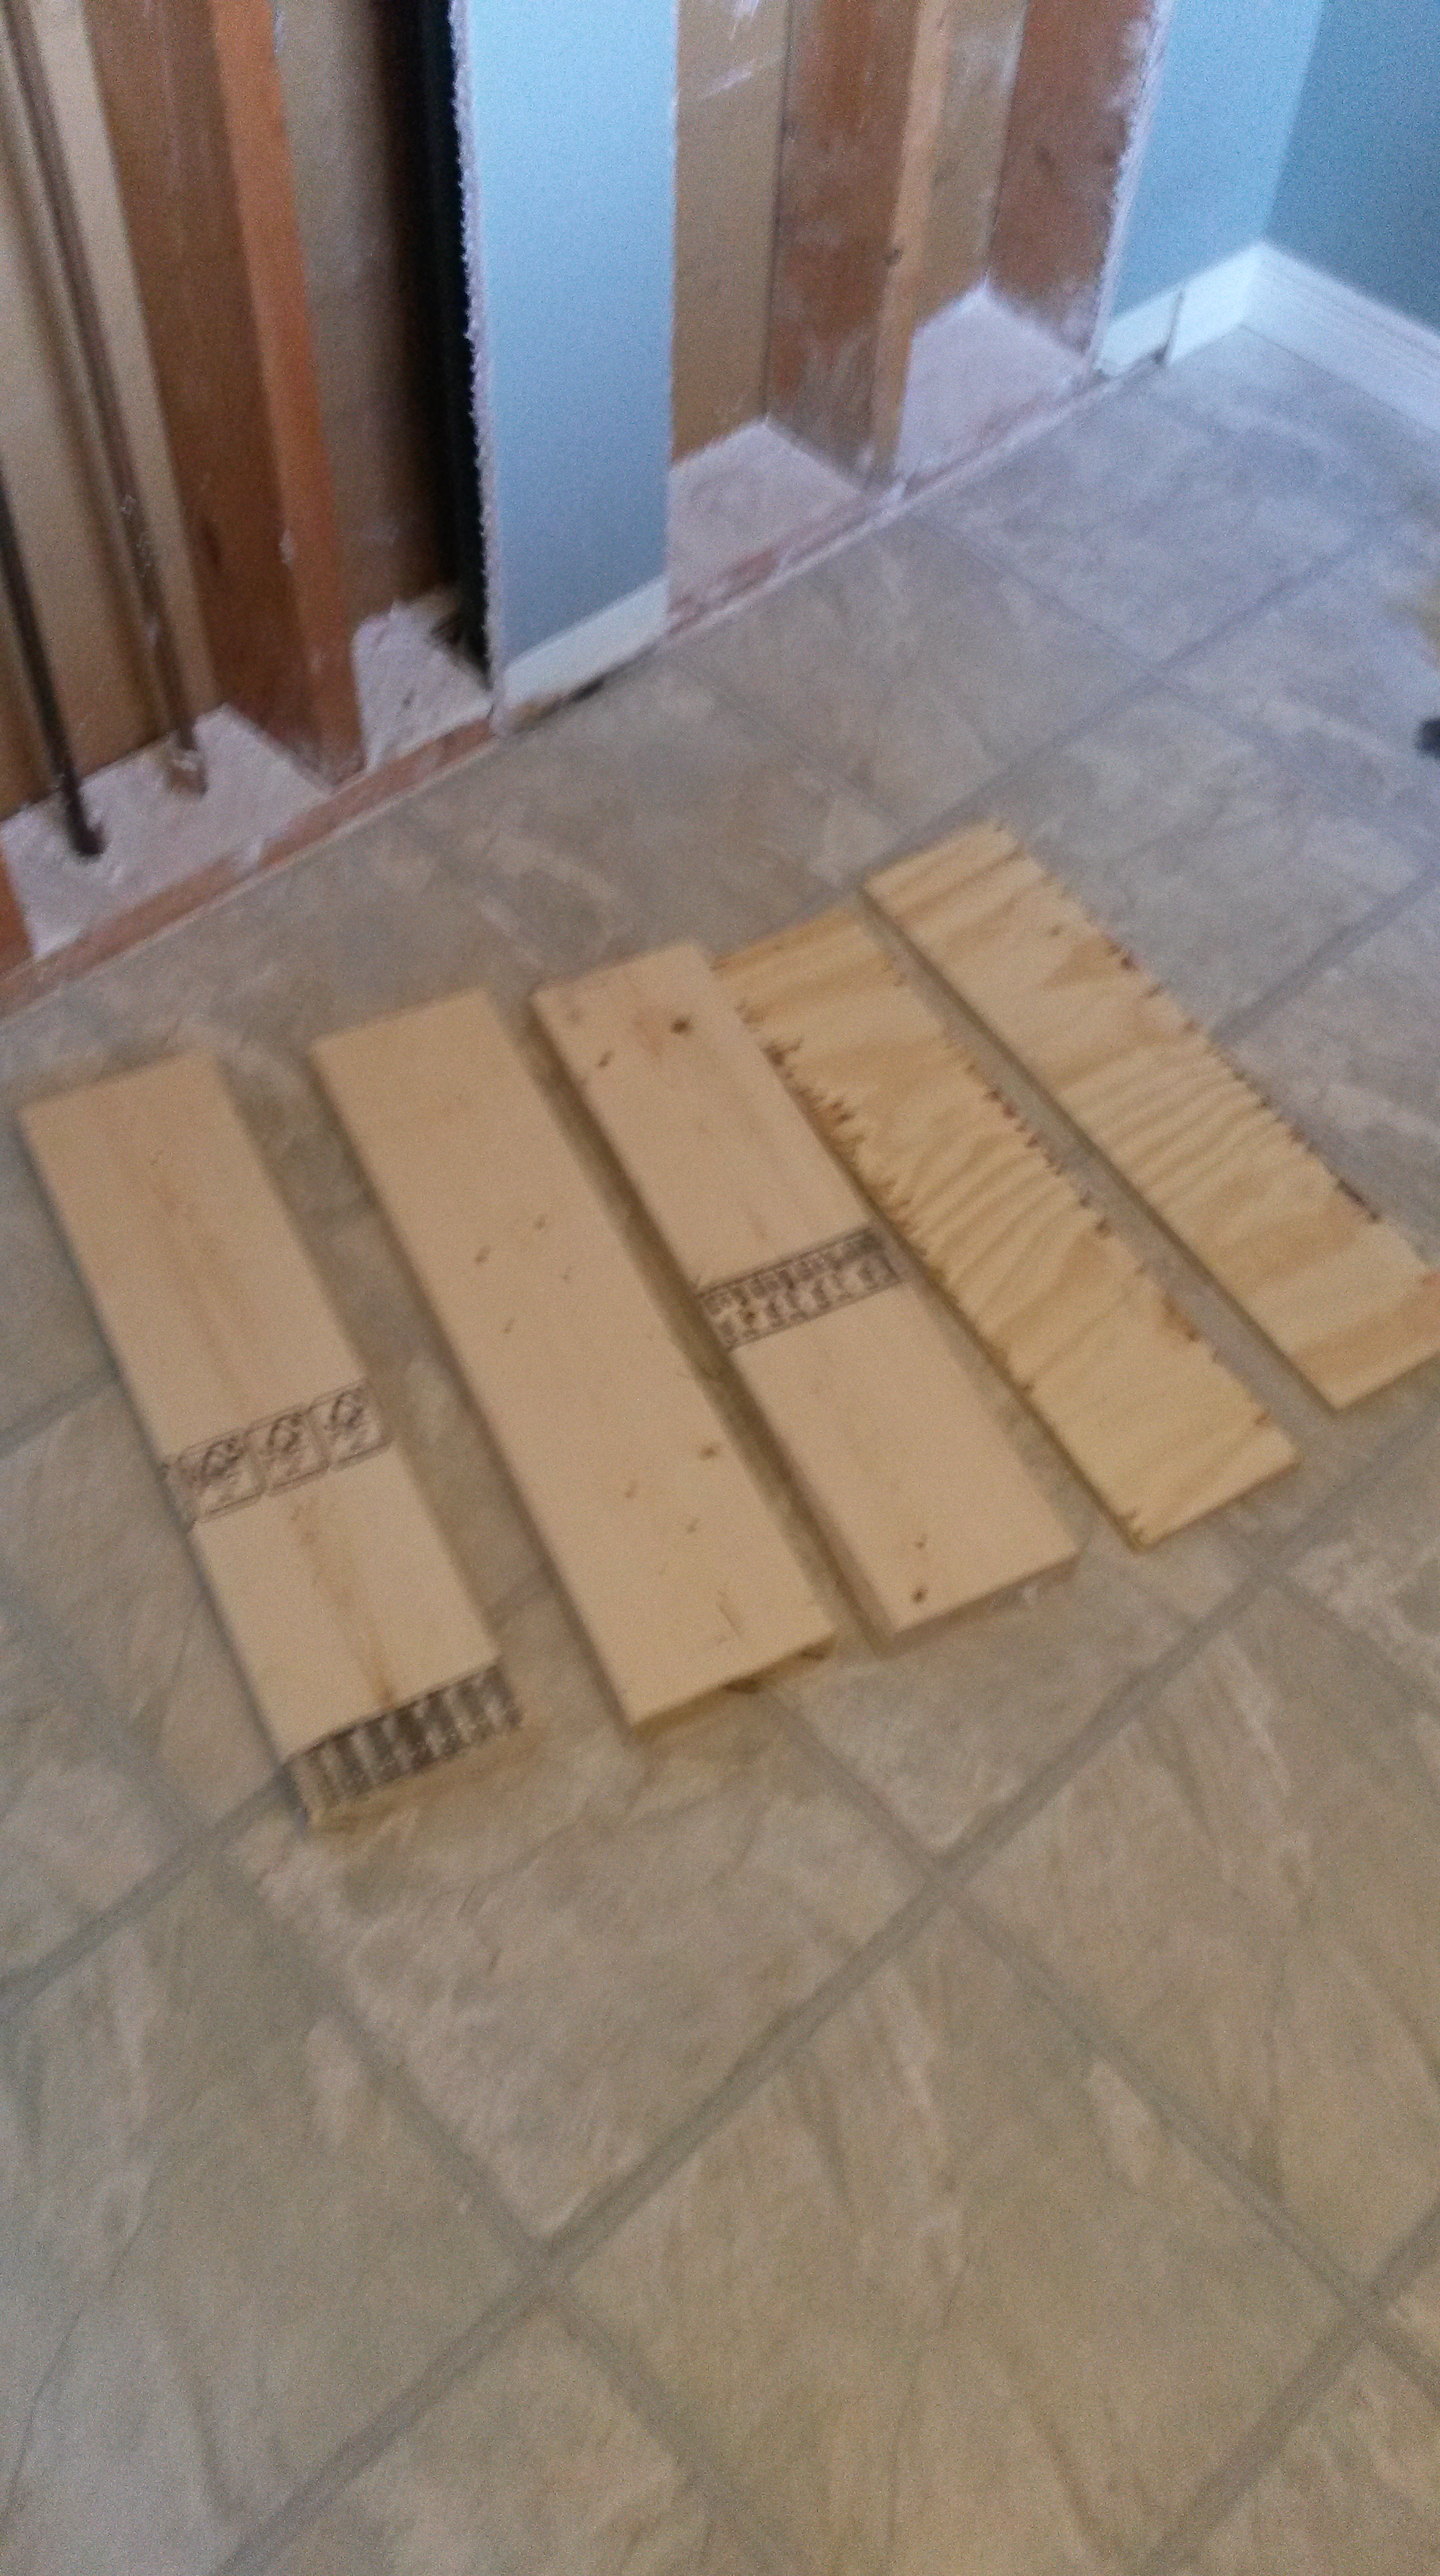
I headed to my local Lowes and picked up five 8 foot knotty pine boards, inexpensive and rustic looking, perfect for this space. I cut them into 4 foot lengths, drilled two holes at either end of each board and then applied a beautiful stain by Cabot called Cinnamon Toast. The pipes would be fed through the holes and anchored to the floor and the ceiling.

Then it was pretty much like building with Lego:

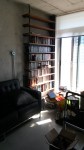
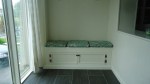
The result is an amazing looking book case with TONS of storage that is tucked out of the way and replaced two big, bulky shelving units that were taking up too much floor space and didn’t have the capacity to hold everything.

You can make just about anything with wood and pipes…book cases, coffee tables, islands, media units, the possibilities are endless AND affordable.

Have a look at this link for some inspiration and see what you can come up with for your space challenged home:

https://www.google.ca/search?q=metal+pipe+and+wood+bookcase&espv=2&biw=1366&bih=643&source=lnms&tbm=isch&sa=X&ei=IvkoVbfEGpaoyATT5IGACg&ved=0CAYQ_AUoAQ

Posted in Closets and Storage Solutions, Custom Desks and Wall Units, Space Saving Furniture, Woodworking | Leave a comment

Two more closet redesigns

Finding places for everything is always such a huge challenge in older homes.

The staircases and hallways are narrow, the rooms are small and the closets are either non existent or so tiny that they are virtually unusable.

Recently, I completed a couple of closet “renovations” in a mid Toronto century home. I call them renovations because usually I am simply replacing the interior “guts” of the closet (shelving, etc) but in this case we actually opened up the walls to make access much easier.

We had two closets to deal with, one in the upstairs hallway and one in a bedroom. The problem with these closets was that they are only 16″ deep, extremely shallow and both had 24″ standard doors, so accessing the items kept on either side of the doors or up above was almost impossible. The shallow depth also meant that hanging clothing was awkward at best. Typically you need 22″ to 24″ of depth to properly hang clothes.

The plan in the bedroom was actually a little different than what ultimately became the result. Originally I was opening up the closet to create a large built in book case with a stand alone wardrobe for clothing.

Part way through the demo, the client switched gears and decided on using a stand alone book case and having the closet hold her clothing. She was fine with not having a door and asked for three drawers, a hanging rod and a couple of shelves.

I was unable to find any drawer units that would fit so I had to build one from scratch.

Have a look at the process below:


A ton of storage space was created and this became a much better use of the closet.

The hallway closet was similar in that the wall was opened up but then a ton of floor to ceiling shelving was installed.


Two previously almost unusable closets converted into usable space that now hold a TON of stuff.


Posted in Closets and Storage Solutions | Leave a comment

Another bathroom makeover

Bland, dull and out of date best describes this bathroom in an east end Toronto condo prior to it receiving a much needed makeover.

Bathroom renos don’t have to be expensive or overly disruptive to your life.

In this case, we kept the existing tub and tile, which were still in great shape, and added all new shower fixtures as well as a new toilet, vanity, light fixture, mirror, storage cabinet and accessories.

A fresh coat of paint in Dufferin Terrace (Benjamin Moore) completed the transformation.

The result is a more contemporary and stylish bathroom at a fraction of the cost of a full renovation.

Posted in Uncategorized | Leave a comment

Bayview Mills Part 2

A while back I posted an article about a bathroom renovation that I did that was part of a larger project.

http://smallspacestyle.org/2014/01/04/bayview-mills-part-1/

The biggest issue with this home was that nothing really had been done to it since it was built in the 1960s and as such, it was horribly out of date.

The original carpet was worn, the old parquet flooring was lifting and coming apart, the light fixtures were dated and the wall colour was bland and drab.

This home needed to be brought up to date in a big way.

My recommendations included a new, fresh paint colour, some crown moulding, new hardwood flooring, baseboards and trim, new lights and the carpet in the main hallway and stairs had to come off.

We did discover a nice surprise on the stairs though. All the treads were solid oak, which is something you typically don’t see anymore, but they were stained golden oak. The stairs all had to be sanded and refinished in a stain that would match the new hardwood floor and the risers were painted white.

We faced a lfew challenges in completing this project. The sub floor in the living room with lifting and had caused about a 25 foot “hump” running almost the entire length of the living/dining room. That had to be rectified before the new flooring could be installed.

The new colour scheme included a beautiful gray paint colour, stunning silver drapery panels, polished nickel lamps, chrome light fixtures and a gorgeous medium dark harwood floor.

Have a look at the before and after photos of this now up to date Toronto townhome.


Posted in Before and Afters, Colour and Paint | Leave a comment

Cutting a “pass thru” in a load bearing wall

Normally, cutting a pass through in a wall is a fairly simple task. Cut the drywall, cut out the studs, frame it and you’re pretty much done. It’s maybe a half day job.

However, when you are cutting a pass through or “window” in a load bearing wall, you have a whole new set of issues and challenges to deal with.

Recently, while visiting some friends, the subject came up, as they had been considering opening up a pass through from their kitchen into their living room. Simple, right?

Not so much.

Upon inspecting the wall from the basement, we realized we had two very important issues to deal with. First, the wall is a load bearing wall, supporting the upstairs of the house and second, there was a ton of “stuff” running up through the wall; a toilet stack, a set of water lines feeding the upstairs bathroom, a cold air return and three sets of ducts.

After some consideration, we agreed that we would cut two smaller “pass thrus” instead of one larger one; One on each side of the toilet stack.  We would then only have to move one duct and the two water lines.

Opening up the wall allowed us to see exactly what we were dealing with. In these photos, you can see the plan taped out on the wall and the obstacles to be dealt with.


20140920_091146 20140920_124544


We would need to remove three studs, normally not a problem but in a load bearing wall, potentially a huge problem if not done correctly.

The process is not difficult, it just takes some extra work. I had to build two beams that would carry the weight previously supported by the studs to be removed.

Building a beam involves sandwiching 1/2″ plywood in between a series of 2X6s to arrive at the correct width.

20140920_125526


The beam is then supported on either side by 2X6 studs running vertically to the floor.


20140920_132116 20140920_132124 20140920_134747


With the wall supported, I could then cut out the rest of the drywall and finish framing the first pass thru.


20140920_134508


The second pass thru was a bit more challenging as the duct and water lines for the upstairs bathroom had to be re-routed.


20140921_131905

20140923_104056


With the “pass thrus” complete, I could then close up the wall and the face and trim the “windows”. A little primer and paint and the two “windows” were complete, opening up the kitchen and bringing more natural light into the living room.

20140927_11022020140927_11022120140927_11021220140927_110219

Posted in Woodworking | Leave a comment

Another closet door switchout

Last week I posted an article about a bedroom I had done where the large mirrored sliding closet doors were replaced by nicer more functional bi-fold doors.

http://smallspacestyle.org/2014/09/08/another-bedroom-and-closet-makeover/

A woman who I had done some work for in the past read the post and contacted me to do the same work on two of her closets, one in the entry and one in the guest bedroom.

Her sliding doors were floor to ceiling so we had to make a decision about whether to special order 8′ bi-fold doors that would go all the way to the ceiling or go the much less expensive route of framing in the existing closet opening and buying more economical stock doors.

For obvious reasons, we chose the second option. It actually is the preferred option in my mind as we are then able to add some trim to the opening giving it a much nicer look.

Fairly simple although somewhat time consuming, framing in a closet opening is all about measuring twice. Bi-fold are straight forward to install if the framing is done correctly, but can be a huge pain if not.

A few 2X4s, some drywall, compound and paint and the new doors bring the tired entry up to date. The bi-fold doors look amazing with modern stainless steel pulls and are significantly more functional than the old awkward sliding doors.

Posted in Closets and Storage Solutions | Leave a comment

The Printing Factory Lofts Part 2

When I published the post a while back on The Printing Factory Lofts, http://smallspacestyle.org/2013/09/19/the-printing-factory-lofts/ there were a couple of things in the unit that hadn’t yet been completed, namely the bedroom area. In going through some folders, I realized I never uploaded the photos.

The tricky part in doing the bedroom in this loft (or frankly most lofts) is that there is no wall or door separating it from the rest of the unit. It’s simply an area in which to put the bed.

Now, a wall and door could have been added easily enough, but that would have closed in the space as, the bedroom area had no window. However, we still wanted to be able to provide some separation, an option to close off the room should guests come over.

The easiest and most affordable solution in my mind was to hang bamboo blinds as a room divider, blinds that would relate to the ones we had hung in the living room windows.

They can be lowered to the floor when some privacy is desired or raised all the way up when wanting a more open feel.

The best part in a loft, as I have said before, is that there are virtually no rules and you can pretty much go “crazy” and it will work.

Thinking “outside the box” and searching for creative solutions to everyday challenges is critical when dealing with a small space.


Posted in Before and Afters | Leave a comment

Another bedroom and closet makeover

Sliding closet doors are a great space saving idea and just about every new home and condo has them. Here’s the problem though.

They are terribly inconvenient; the constant back and forth to access your items is a huge pain especially when the doors are mirrored like these and weigh a ton.

DSC06884


My clients were having a heck of a time with them so the logical solution to me seemed to be to make two closets out of one, creating his and hers closets. We could then add bi-fold doors allowing much easier access to their clothing and other items.

After removing the doors and doing s little construction, we added some new crown moulding and a fresh coat of paint, making the room more elegant and much warmer and cozier.

As a side note, think about painting your bedroom a dark colour to give the room a warm and cozy feel.


Posted in Before and Afters, Closets and Storage Solutions, Colour and Paint | Leave a comment

The Empire

Sometimes people don’t want to spend a fortune decorating their home and the good news is that you often don’t need to spend a lot to make a huge difference.

Recently I competed a condo unit for a first time buyer who, as with most people moving into their first place, had a limited budget to work with.

We had to set some priorities and make some decisions, taking on those things that would make the most impact and also add the most value. Re sale is always something condo owners have to keep in mind, especially first time buyers who typically don’t stay long before moving up.

We decided on a few things that I felt were the most important; replacing the old worn carpet in the bedroom with a new laminate floor that matched the existing floor in the rest of the unit, a glass tile back splash in the kitchen, some beautiful wallpaper as an accent in the bedroom and den and of course, paint throughout.

The unit went from cold and stark to warm and inviting.


Posted in Before and Afters, Kitchen Makeovers, Wallpaper | Leave a comment

Building an entry bench

Here is a super simple project that is both practical and beautiful with lots of storage for boots and shoes.

I built this bench in the entry of a 90 year old home, the same home as in the previous post, Building A Wall Unit.

Very simple, just 2X4s for the frame, MDF for the sides, a melamine shelf for the top, a coat of paint and some outdoor chair cushions.

Looks great and adds more storage to a home in desperate need:

Posted in Woodworking | Leave a comment