Another bedroom and closet makeover

Sliding closet doors are a great space saving idea and just about every new home and condo has them. Here’s the problem though.

They are terribly inconvenient; the constant back and forth to access your items is a huge pain especially when the doors are mirrored like these and weigh a ton.
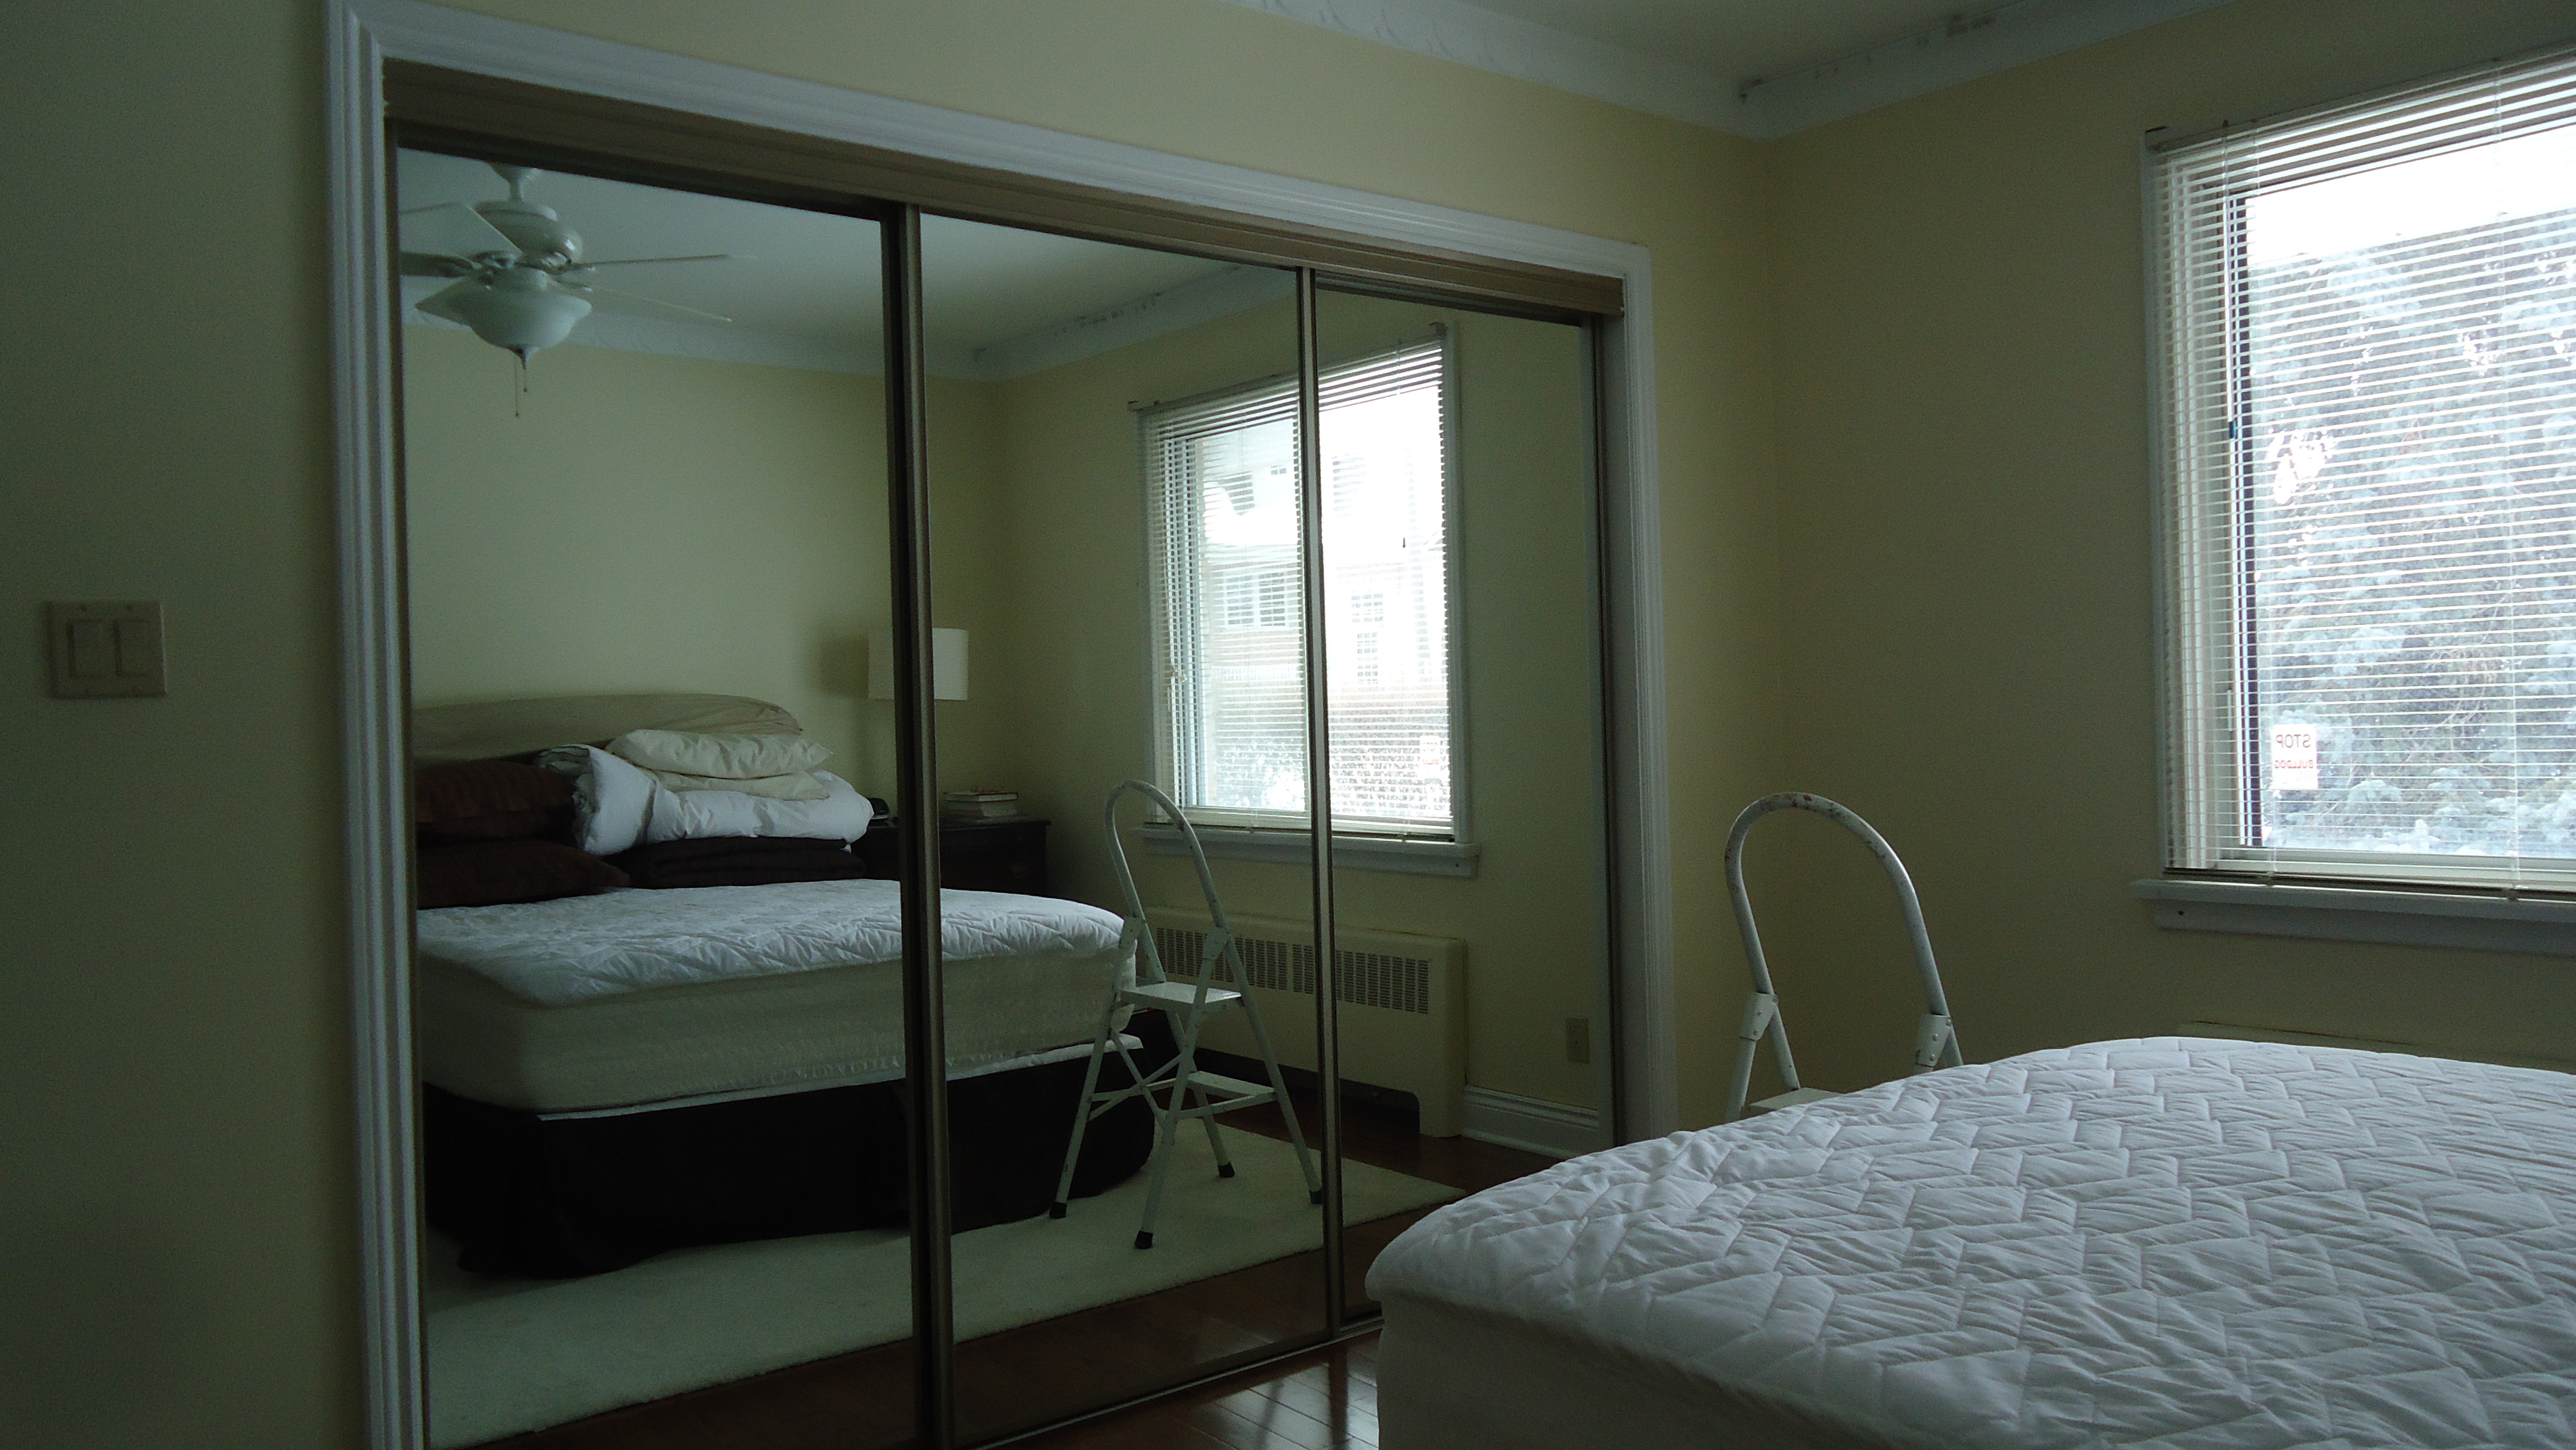
DSC06884


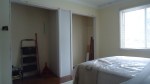
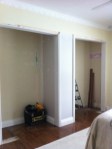
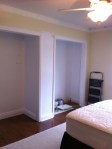
My clients were having a heck of a time with them so the logical solution to me seemed to be to make two closets out of one, creating his and hers closets. We could then add bi-fold doors allowing much easier access to their clothing and other items.

After removing the doors and doing s little construction, we added some new crown moulding and a fresh coat of paint, making the room more elegant and much warmer and cozier.

As a side note, think about painting your bedroom a dark colour to give the room a warm and cozy feel.
 

Posted in Before and Afters, Closets and Storage Solutions, Colour and Paint | Leave a comment

The Empire

Sometimes people don’t want to spend a fortune decorating their home and the good news is that you often don’t need to spend a lot to make a huge difference.

Recently I competed a condo unit for a first time buyer who, as with most people moving into their first place, had a limited budget to work with.

We had to set some priorities and make some decisions, taking on those things that would make the most impact and also add the most value. Re sale is always something condo owners have to keep in mind, especially first time buyers who typically don’t stay long before moving up.

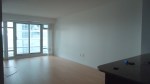
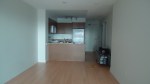
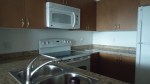
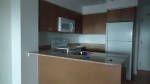
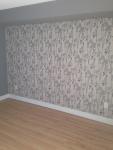
We decided on a few things that I felt were the most important; replacing the old worn carpet in the bedroom with a new laminate floor that matched the existing floor in the rest of the unit, a glass tile back splash in the kitchen, some beautiful wallpaper as an accent in the bedroom and den and of course, paint throughout.

The unit went from cold and stark to warm and inviting.


Posted in Before and Afters, Kitchen Makeovers, Wallpaper | Leave a comment

Building an entry bench

Here is a super simple project that is both practical and beautiful with lots of storage for boots and shoes.

I built this bench in the entry of a 90 year old home, the same home as in the previous post, Building A Wall Unit.

Very simple, just 2X4s for the frame, MDF for the sides, a melamine shelf for the top, a coat of paint and some outdoor chair cushions.

Looks great and adds more storage to a home in desperate need:

Posted in Woodworking | Leave a comment

Building a Wall Unit

I am sooooo happy how this project turned out and equally happy that it’s finished. My lower back is even happier.

When I was contacted by a couple who I had done work for in the past to build a wall unit in their living room and a bench in their entry, I jumped at the chance.

I love working with my hands and I especially love working with wonderful people. It just doesn’t feel like work.

A wall unit in their living room was a bit of a no brainer. They had very little storage, as is the case in pretty much all 90 year old homes and they had a wall that was a natural fit.

This project wasn’t without it’s challenges, however. The floor and walls are, of course, not level and there are two beautiful windows in the wall that are off centre and would have to be incorporated into the wall unit.

The construction was pretty typical of what I do; a base made of 2X4s, upper kitchen cabinets and stock melamine shelving with some decorative trim added. The design was pretty much done on the fly as I had to build around the windows.

The result is a wall unit with tons of storage and looks as though it’s always been there:


Posted in Woodworking | 1 Comment

Lakefront Staircase Refinish

This was part of a larger project involving a basement reno on a beautiful lakefront property north of Toronto.

Part of the renovation involved replacing the old, dated handrail and spindles with something more up to date and inkeeping with the style of the home.

My part in this was to stain the new unfinished handrail and paint the stringers and risers white to tone down the wood and allow the oak treads to “pop”.

I was fortunate to find an exact match for the stain and the result is beautiful.


Posted in Before and Afters, Woodworking | Leave a comment

East End Ravine – Getting ready for sale

You can live pretty much the way you want in your own home BUT as soon as you have made the decision to sell, then it is NO LONGER YOUR HOME!

This is the first rule of getting your home ready for sale.

This rule was applied in spades to a recent east end Toronto home that had been lived in for many years and was functioning well according to the home owner’s needs.

When I arrived I made a number of recommendations that the owner would never have gone along with had she been staying in the home.

The key was, we had to make the home appeal to a wider audience of potential buyers.

The dated sage green and bright yellow walls were repainted in a warm, neutral, Baby Fawn by Benjamin Moore. The kitchen cabinetry was refaced in bright white, rescuing the kitchen from the dark, drab, 80s washed oak green and  the California ceiling was replaced with modern track lighting.

All the little knick knacks that were literally everywhere had to go as well, but the most dramatic change, however, was in the furniture placement.

The living room was being used as a home office complete with desk and book case and was the first thing you saw as soon as you walked in. The family room was so crammed full of furniture that you could barely move. It made sense to switch the functions of both rooms and split up the furniture. So the living room once again became a living room and the family room became a den/sitting room.

A few strategically placed decor items and the home was transformed into a warm, cozy and welcoming space.

Posted in Before and Afters, Home Staging, Kitchen Makeovers | Leave a comment

Another closet by Schulte

One of the biggest challenges that people face, especially people who live in a small space, is storage. There’s never enough of it and what there is is so poorly designed and laid out, that it’s virtually useless.

Everything is just stuffed into every corner of every closet making it almost impossible to keep track of things.

Most new home and condo builders give you closets containing nothing more than a wire rack and leave it up to you to make it work.

It seems as though almost every project I do requires a closet makeover; removing the old useless wire rack and installing a new efficient and effective storage system.

I’ve written before about the many closet systems available and I’ve used most of them, but I keep coming back to the system by Schulte.

http://www.organizedliving.com/home

It’s wall mounted, modular and can be completely customized to your needs today and then easilly modified over time as your needs change.

I just completed a closet in a home that had been just renovated. This was a brand new closet with no existing system. The clients were looking for some hanging storage, a couple of drawers and a lot of shelving. The finished closet gives them ample room to hang both long and short items, two large drawers and a ton of storage with “boxes” and open shelves. As their needs change, it will be easy to move things around or add new modular pieces to ensure that this closet always meets their needs. Have a look:


Posted in Closets and Storage Solutions | Leave a comment

The Flatiron Lofts Part 2: Re-purposing a bathroom mirror

What do you do with a 3′ X 5 1/2′ bathroom mirror that you replace with a smaller mirror and towel rack?

Well, if you’re me, you turn it 90 degrees, mount it on the wall in a hallway, head to Lowes and buy some trim (notched on the back to fit over the mirror) then paint the frame with Tremclad Aluminum paint….one coat gives you the vintage, distressed look I achieved, two coats gives you a more even covering.

There you have it. A huge mirror saved from the landfill and now in a great place for that last once over before heading out the door.

Posted in Art and Mirrors | Leave a comment

The Flatiron Lofts Part 1

I LOVE lofts and I especially love this one.

Even though it’s not an old converted loft, it is still amazing. Patterned after the Flatiron Building in down town Toronto, it has all the features you would expect to see in a loft; exposed concrete walls and ceilings, vintage distressed flooring and large full height windows.

My design is based on “Breakfast At Tiffany’s” and when it’s all done will have a vintage, Paris glam feel to it. Lots of vintage inspired pieces, lots of silver and chrome and tons of old world charm, blending old and new for lots of interesting contrast.

Here is Part 1. The painting and wallpapering is done and the home is ready for the next phase of work next week. Stay tuned!

Posted in Bathroom Makeovers, Before and Afters, Wallpaper | Leave a comment

Beautiful wallpaper feature wall

I’ve said it before and I’ll say it again…wallpaper is coming back.

Recently I did another wallpaper feature wall, this time in a bedroom.

When I first arrived on site, the bedroom was pretty bland…white walls, cheap light fixture, dirty carpet, overall drab and boring.

DSC07442


After tearing up the carpet, painting the walls and laying a beautiful laminate floor, I changed the light fixture and hung a nice, calm wallpaper on the back wall.

BYUSoBOCUAICZ6Q


A white storage bed with an elegant tufted headboard was brought in, completing this simple and economic bedroom makeover with beautiful results.

BYl6BJKCYAAngJT

Posted in Before and Afters, Wallpaper | Leave a comment